

Whenever you apply the yellow grid, the "mound" is ADDED to whats there already - you can use this to make a longer raised section, for example, by applying several in a row, or make steeper jump by applying several in the same place.
Note that the "Plane" tool that we used earlier (for the lake) is special because it doesnt add - that one sets a specific altitude regardless of what was there before.
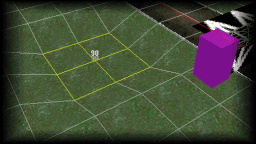
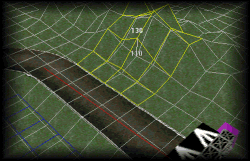
35 Add some hills. Now select the "Hill" tool, and set the Width & Height to 5, the Altitude to 20 and move the "Curvature" slider up one notch from center (higher "Curvature" makes the yellow grid more "pointy").
With the yellow grid aligned with the outside edge of one of the straights, click several times at nearby points to add some hills. You may end upwith a very spiky range of hills, but thats ok - select the "Smooth" tool in the side-panel (right below the Hill tool) and click that several times over the hills we just added until its reasonably smooth (not too much, though - because real hills arent perfectly smooth).
You can use this technique to build-up mountainous terrain. If you prefer wider, smoother hills just set the Curvature sliderlower and the Width & Height higher.
36 Manual editing. Click the "Manual edit" tool in the side-panel (the last one, with the hand), and locate your spare hand over the S and X keys on the keyboard.
Point the mouse at the part of terrain you want to raise or lower and press S (to raise) or X (to lower). You can hold the keys down to change continuously.
This option is very useful for making fine-tuning adjustments very quickly.
37 Experiment with the tools. Try each of the tools and see how they work - you are limited only by your imagination :) But dont go crazy - hills that are too steep, or roads that are too bumpy etc can make a track too difficult to enjoy racing on...
Leave at least one part of the road-side flat - we'll need it for later...
Remember, it only takes a few seconds to re-write the POD file and test any changes you make in the game. If you keep MTM2 and Traxx both running at the same time, and switch between the two to test your ideas, you will have to start a race with another track before re-starting yours (because the game remembers the previous version until you run another track to reset its memory).
Prev Lesson Next Lesson
Back to Traxx School
Back to Traxx Home Page
All Software referenced by this site is Copyright by SoftParts and cannot be sold or distributed in any way other than by SoftParts.
SoftParts accepts no responsibility for any loss, damage or injury incurred as a result of the use of this software (not that thats going to happen, mind you....)